Start your own learning marketplace
A learning marketplace is a place where teachers can come together and offer their services to students. It's an online platform that makes it easy for students to find the right teacher for their needs, and it's a great way for teachers to connect with new students.
There are many benefits to starting your own learning marketplace. First, it's a great way to make some extra money. Second, it helps to promote educational services to people all over the world. And third, it's a great way to get your name out there and promote your business.
If you're interested in starting your own learning marketplace, there are a few things you need to do. First, you need to find a niche. What kind of teachers and students are you looking to reach? What kind of subjects do you want to promote? Once you've found your niche, you need to build a website and create some content.
Once your website is up and running, you need to start promoting it. You can do this through social media, online ads, or by reaching out to local schools and businesses. The more people who know about your marketplace, the better.
Finally, you need to make sure that students are happy with their experience. This means placing quality content and customer service. If you can do this, you'll be well on your way to success.
If you're looking for a great way to make some extra money, start your own learning marketplace today. Nowadays, there are many online platforms that can help you to do this. One of them is MIP marketplace builder. With a little effort, you can build a successful marketplace that will help you reach your goals. So let’s take a closer look at how to do this from a technical point of view.
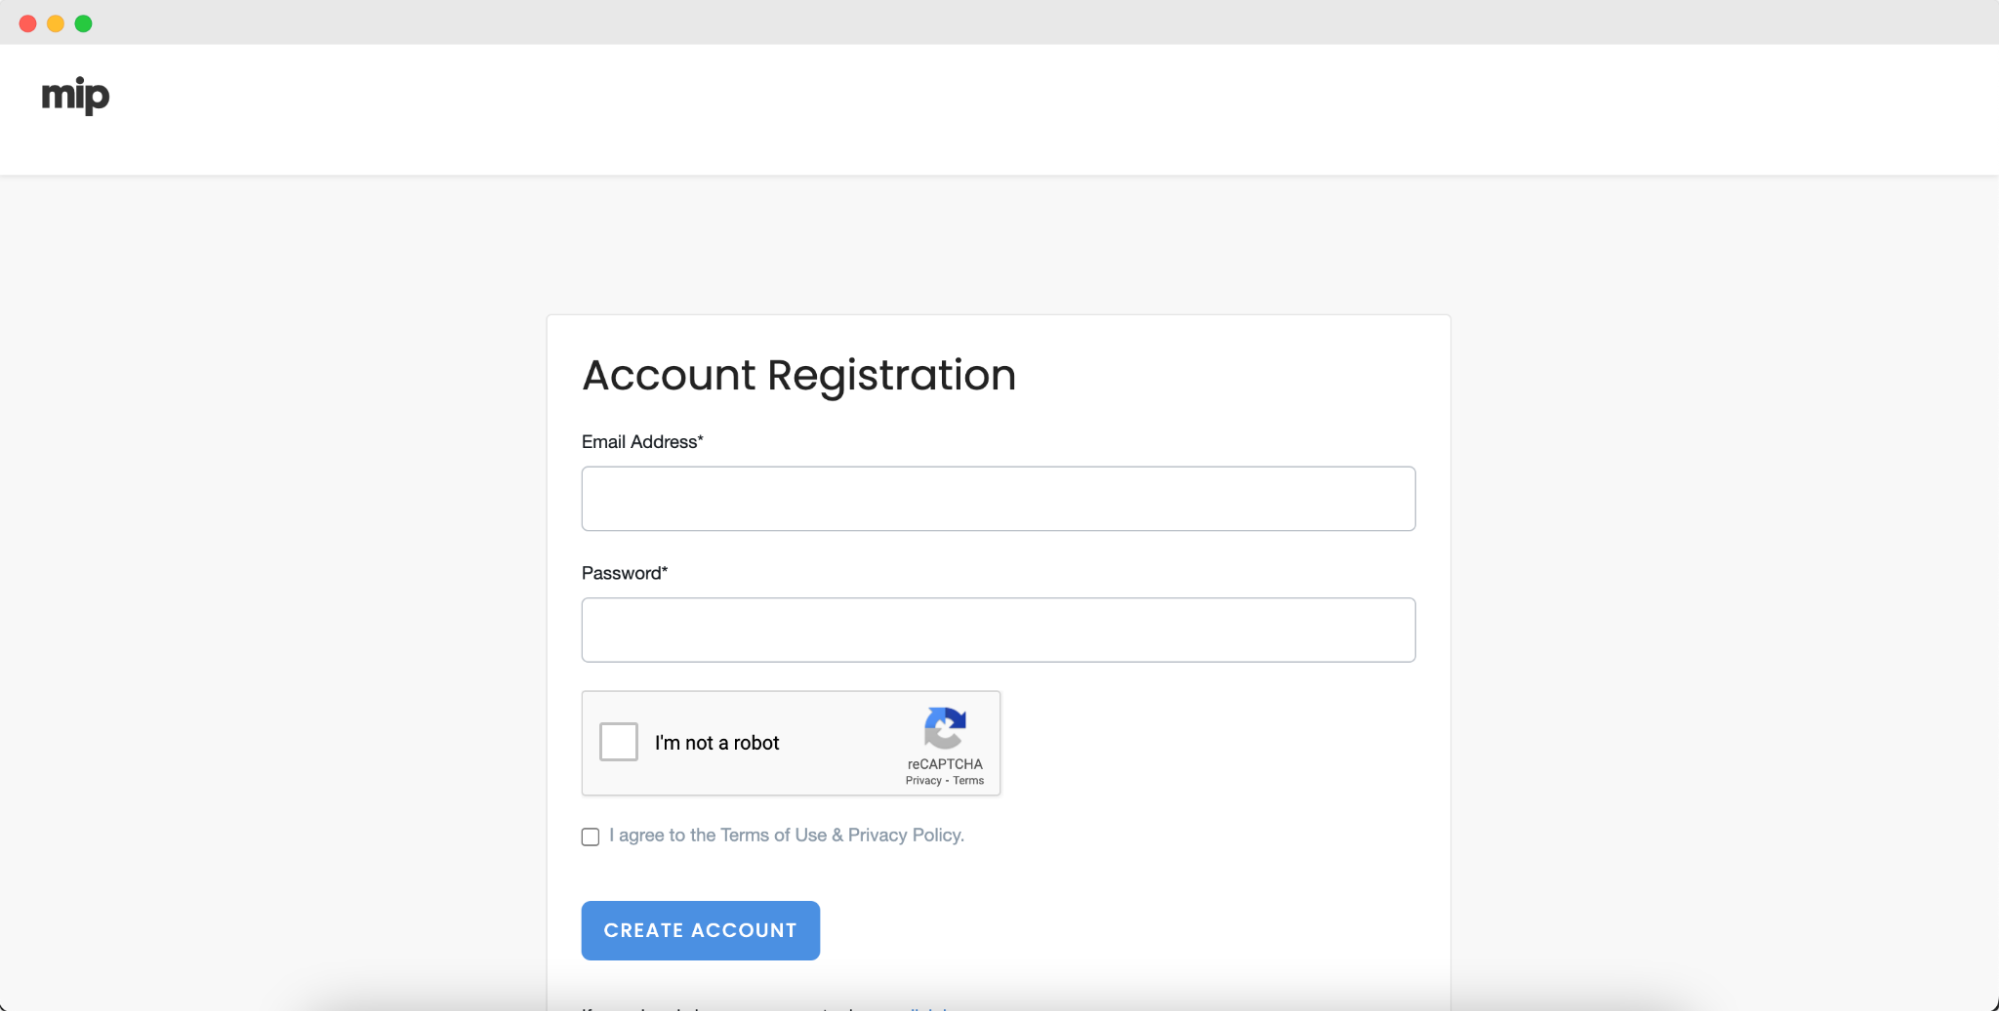
If you want to build a successful marketplace, then MIP platform is definitely your choice. Follow the link, and fill in your email address and password.
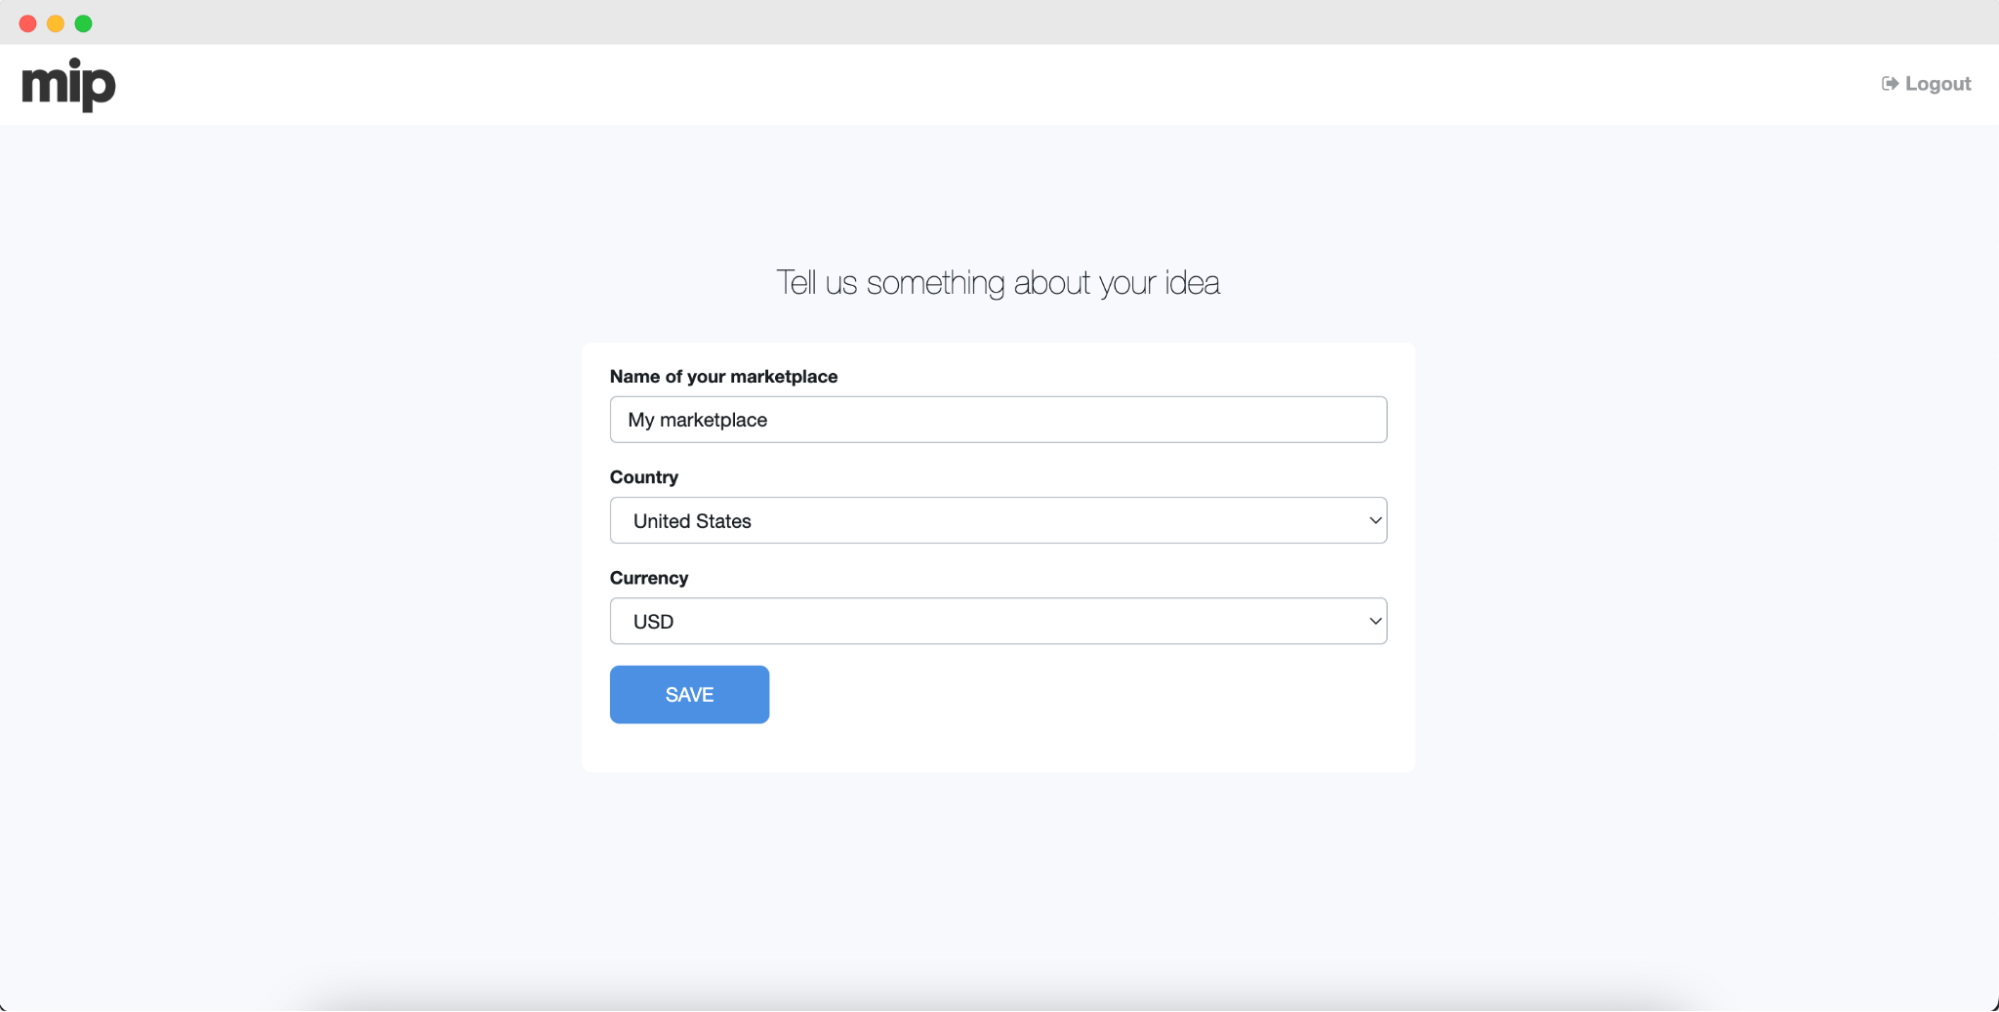
Once the account is created, you need to tell us a bit more about your future learning marketplace. Just fill in your name, name of your marketplace, currency and country.
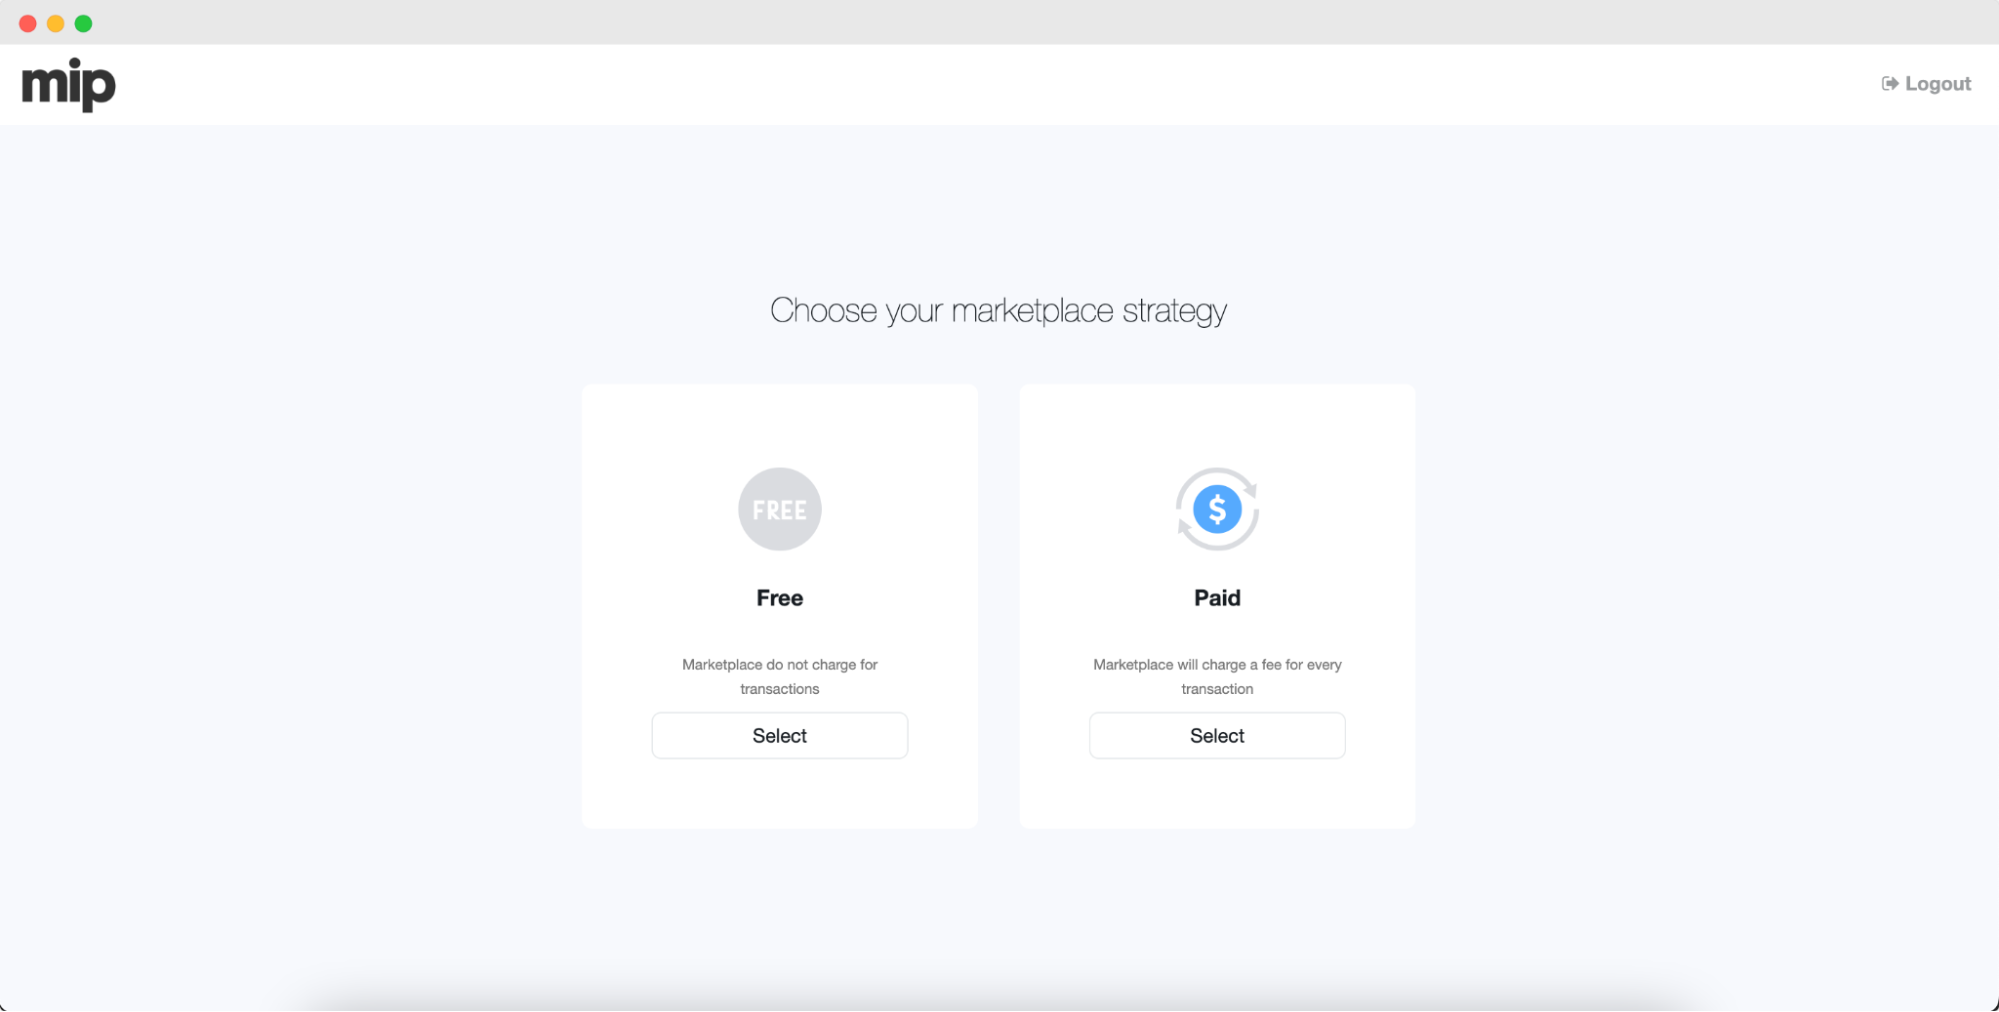
In the next step, you also need to define the pricing strategy. Would you allow renting offers for free on your marketplace, or you want to charge a fee for every transaction?
If you decide to go with “paid” option, you also need to specify the way commission for transactions will be charged.
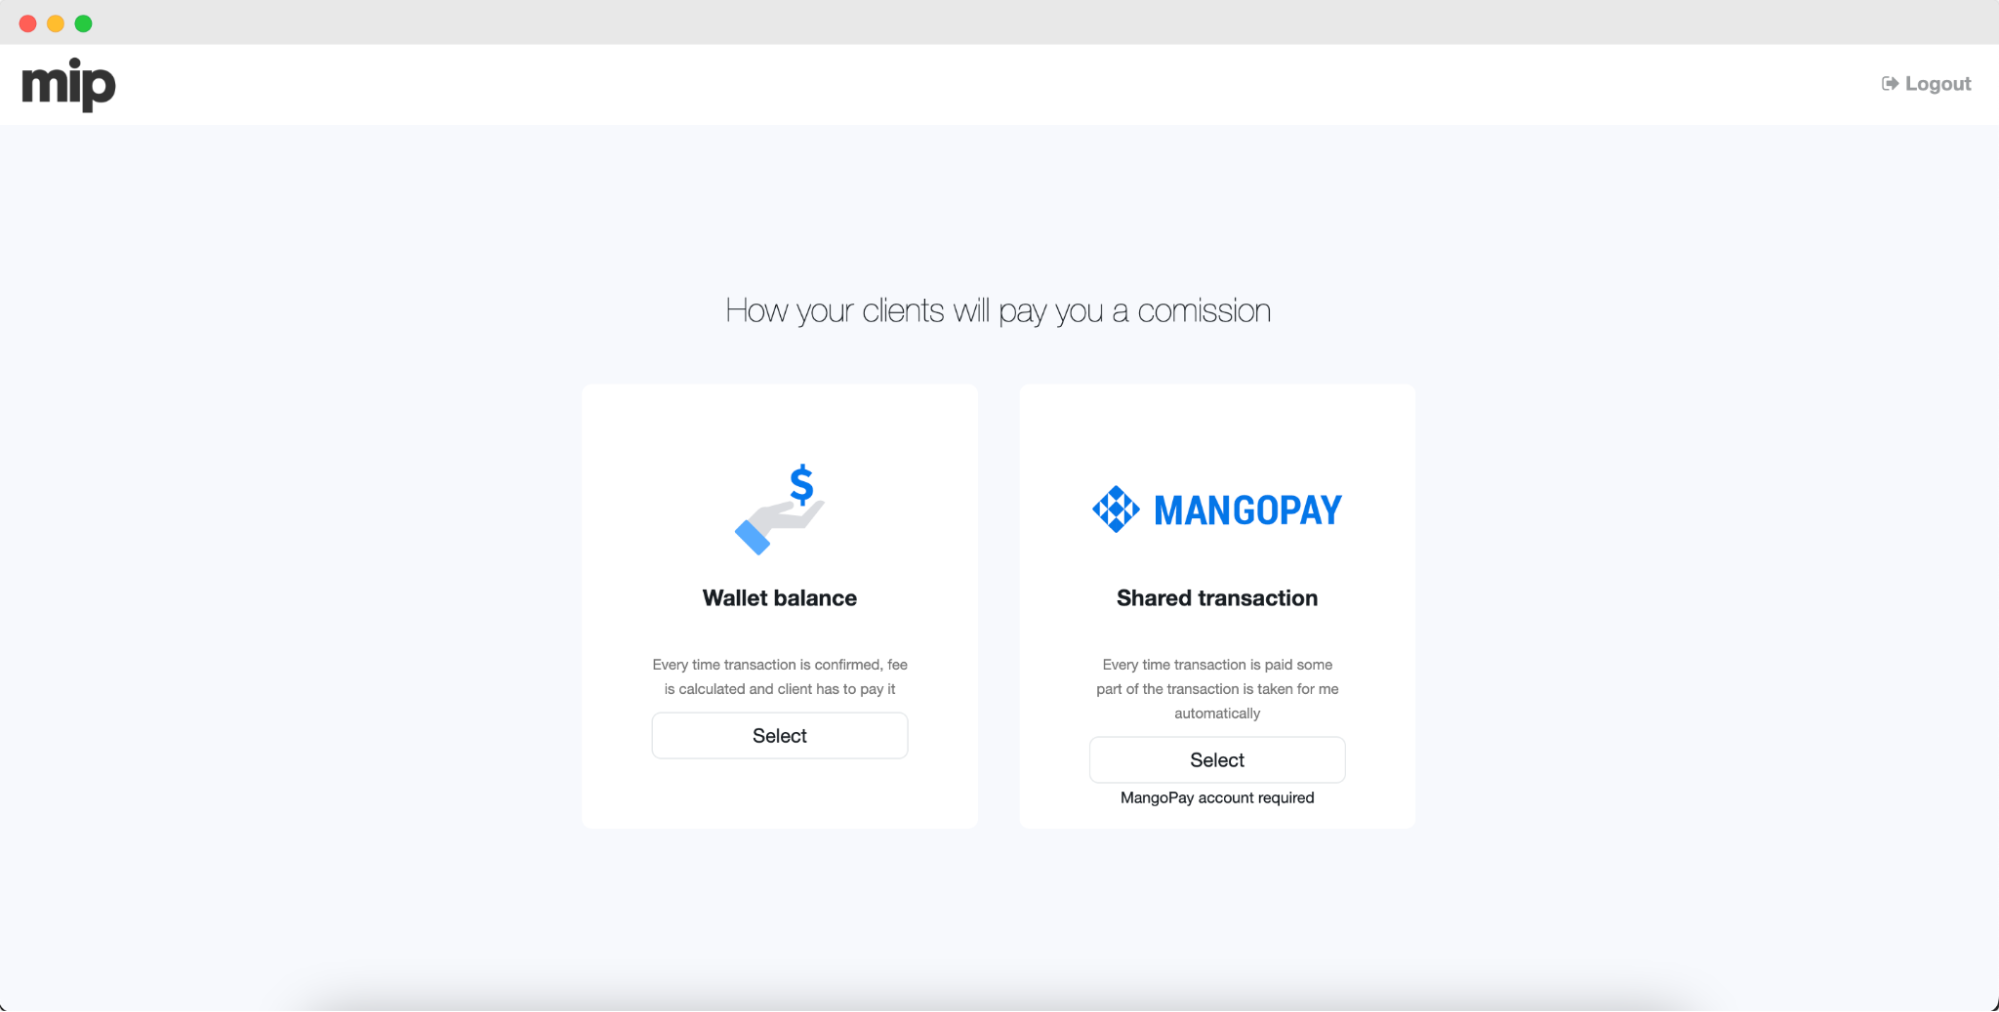
Wallet balance. Commission will be accumulated on the clients’ (teachers’) account, and they will need to pay it to you through the established method. Via bank transfer or Stripe, for example.
Mangopay. It is a service which allows automatic distribution of a commission between a teacher and the owner of a marketplace. Please be aware, that you need to create your own account in Mangopay to be able to use this feature. Verification process can take up to 3 months, so, keep this in mind.
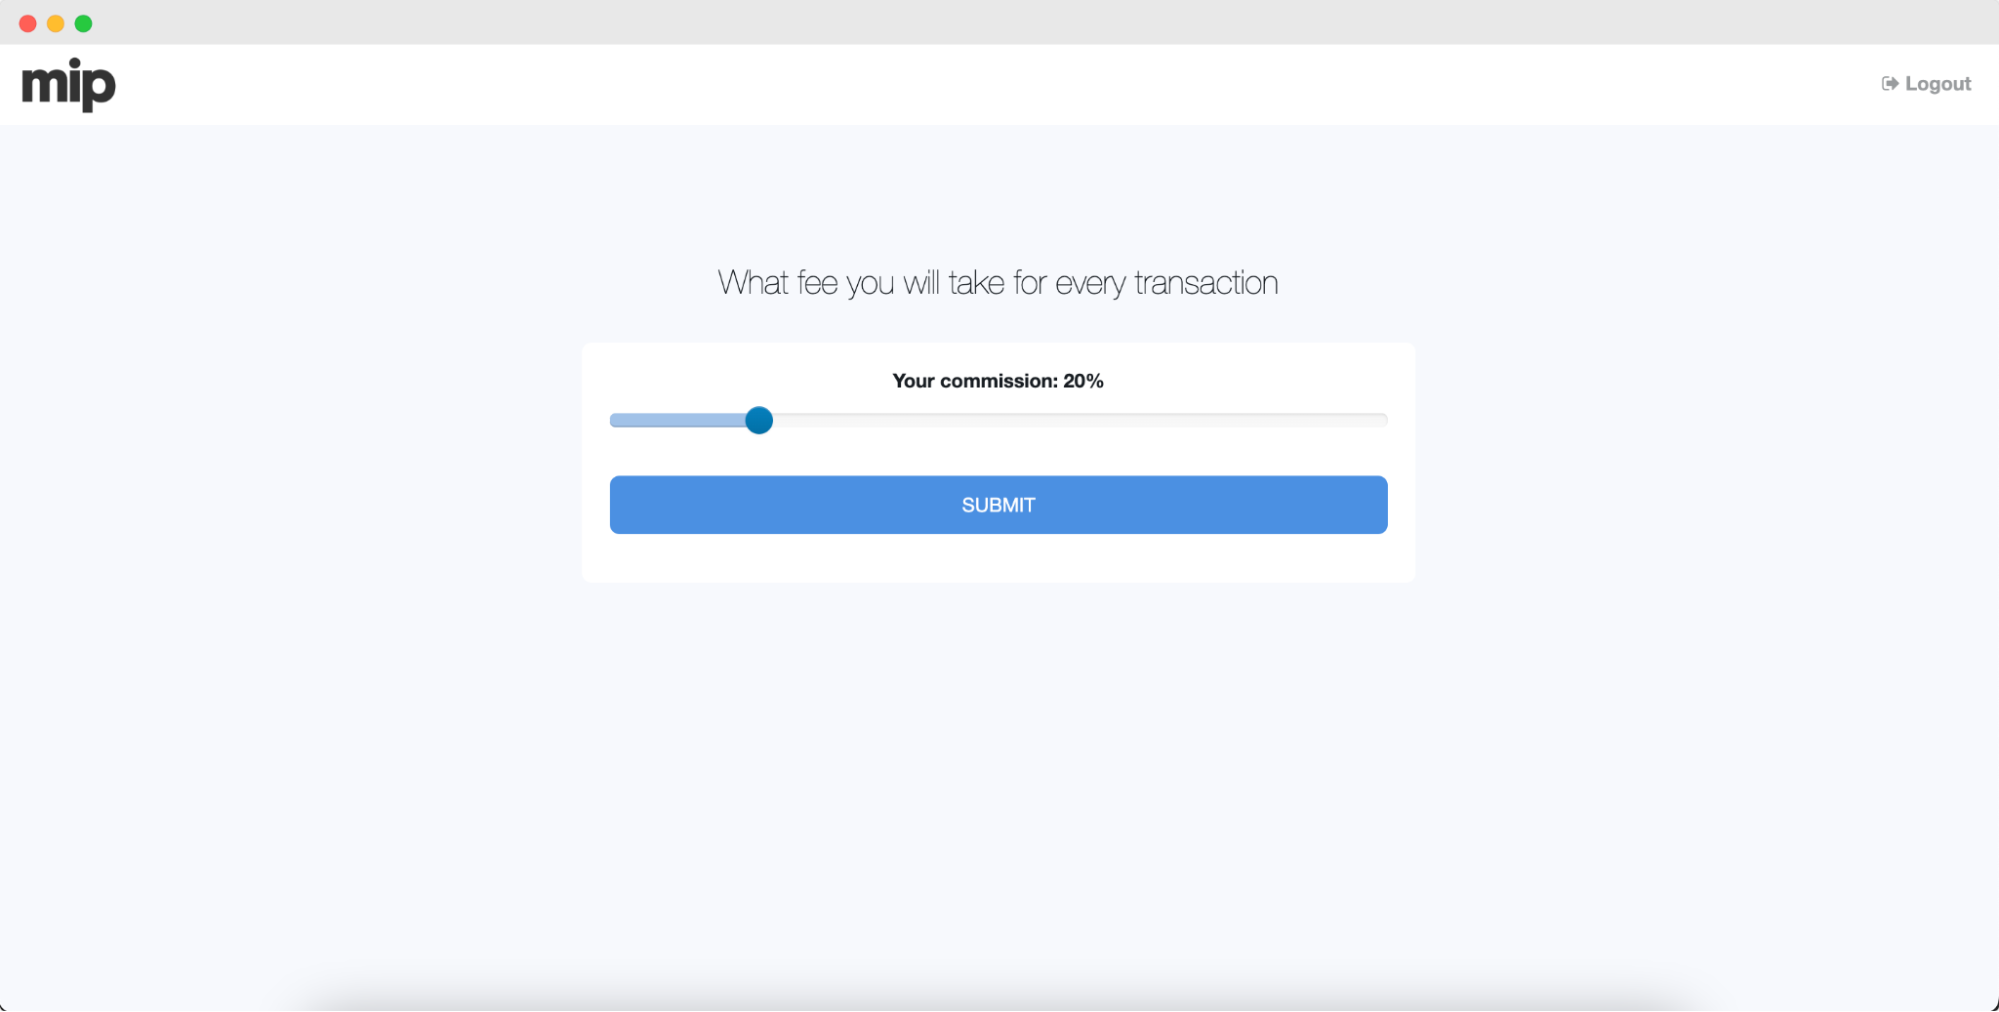
After that, define the commission rate which will be taken from every transaction made on your marketplace. You can always change it later in the settings
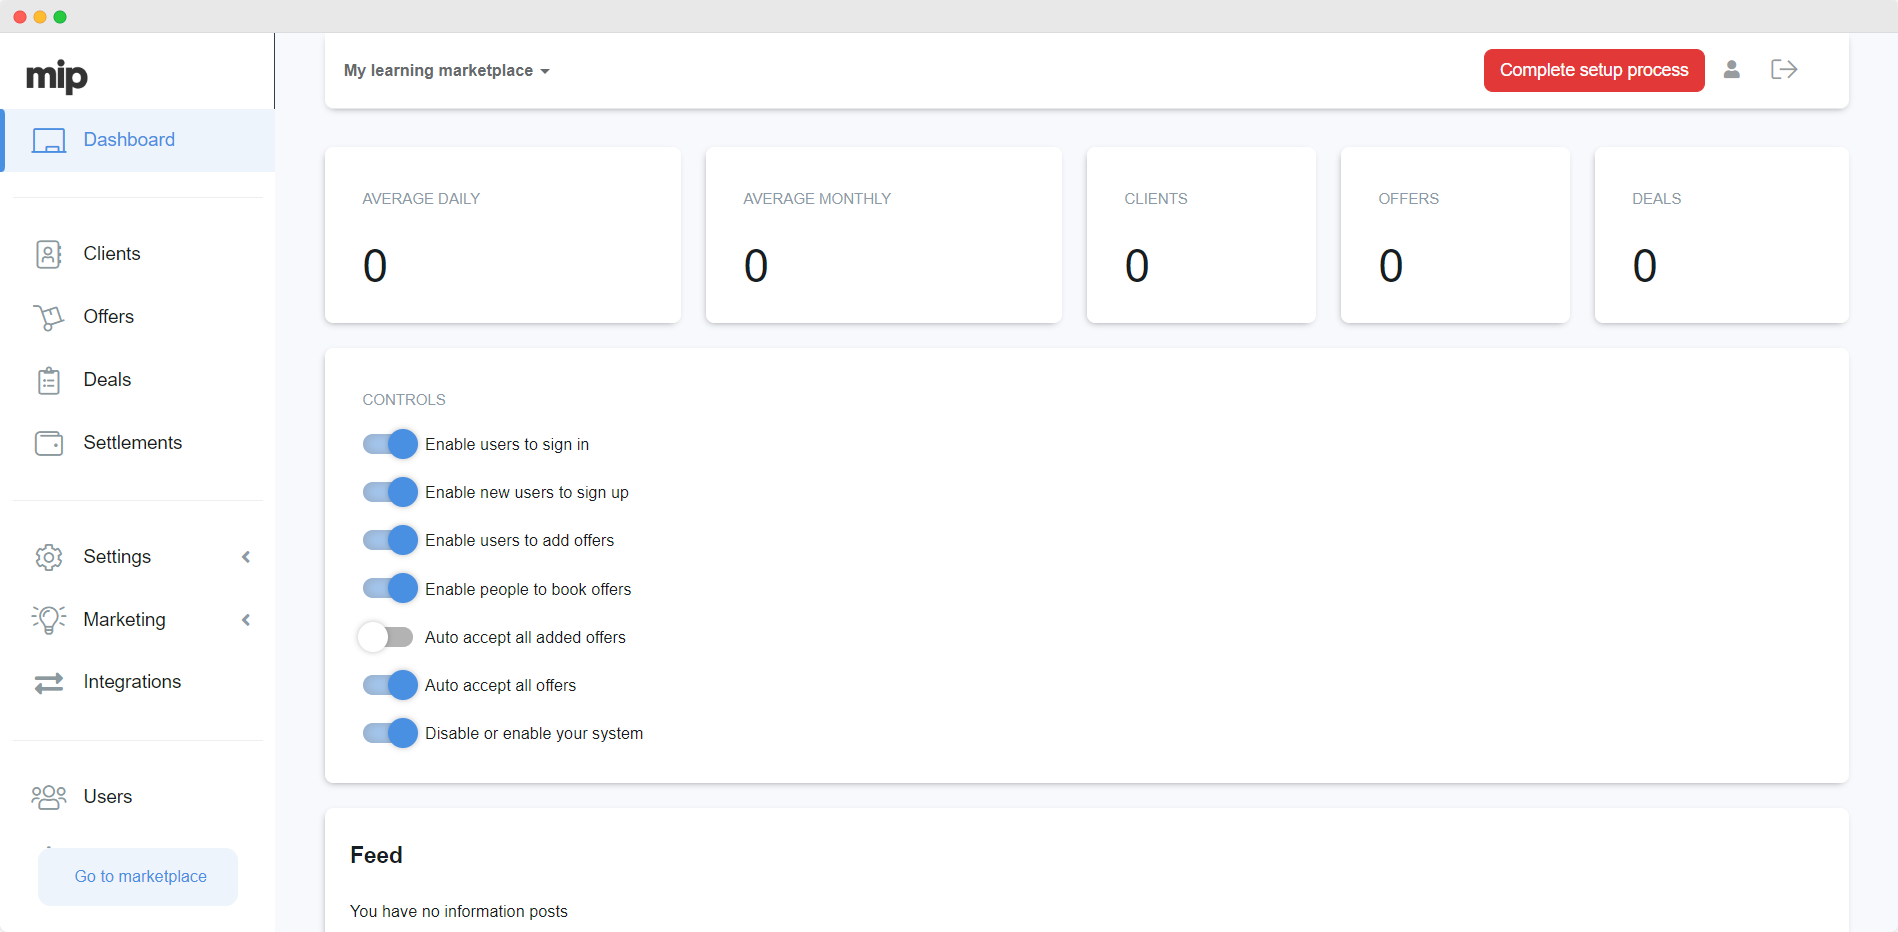
After you’ve completed these simple steps, your learning marketplace is almost ready to go. It becomes available for everyone on the internet but still requires a bit of customization to make it perfect :)
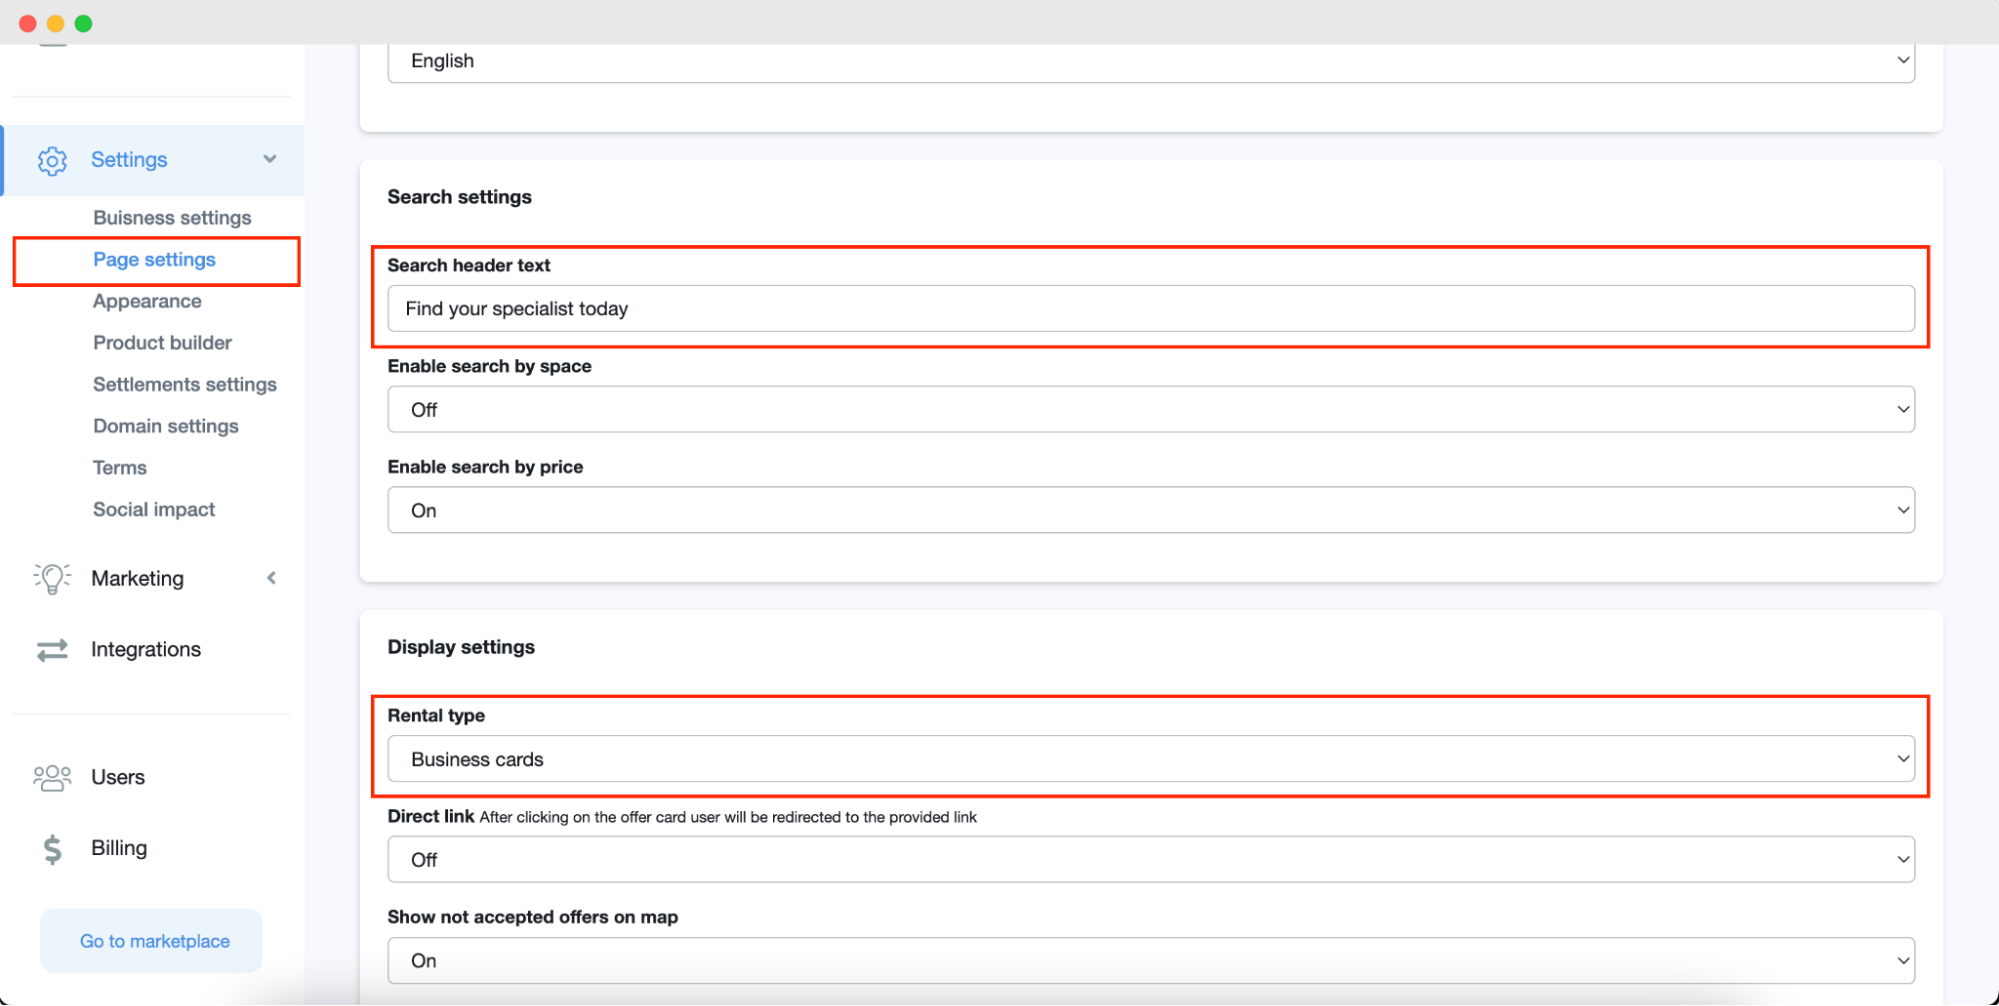
Let’s start from updating the settings of your marketplace page. Choose a title for your marketplace and switch the rental type to “Business cards”.
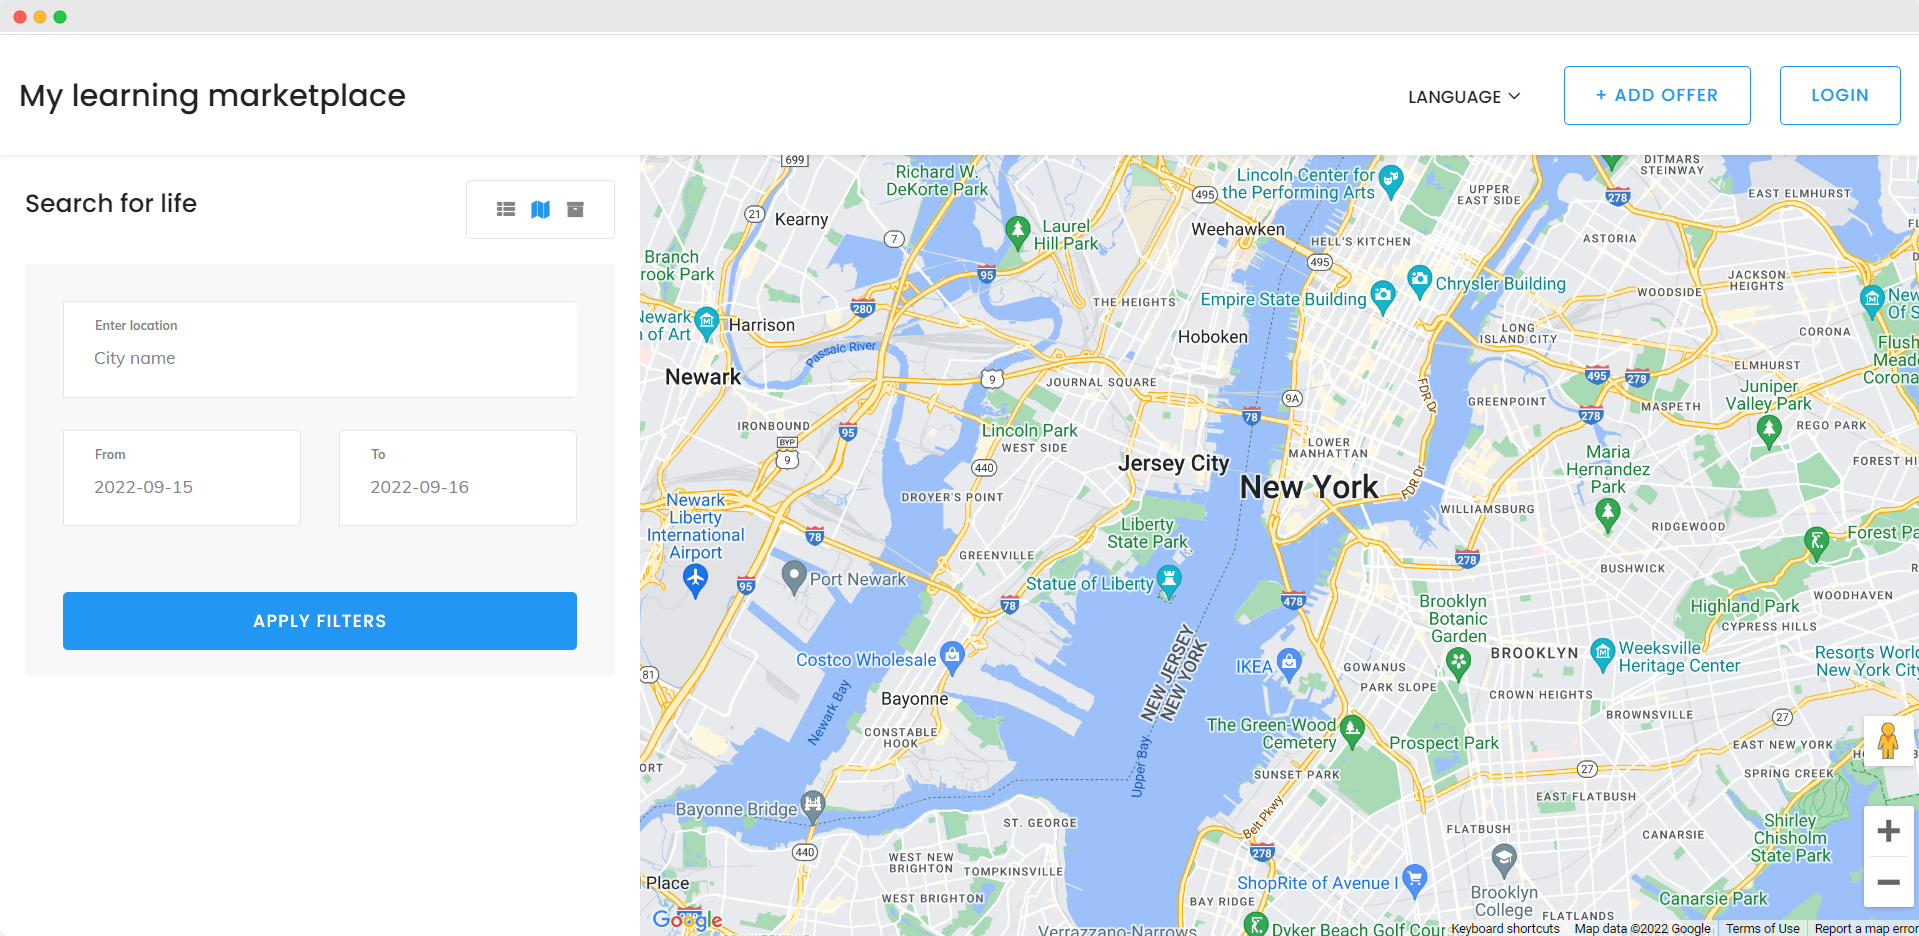
Also, if you do not require the map on the main page, switch display type to just “List”.
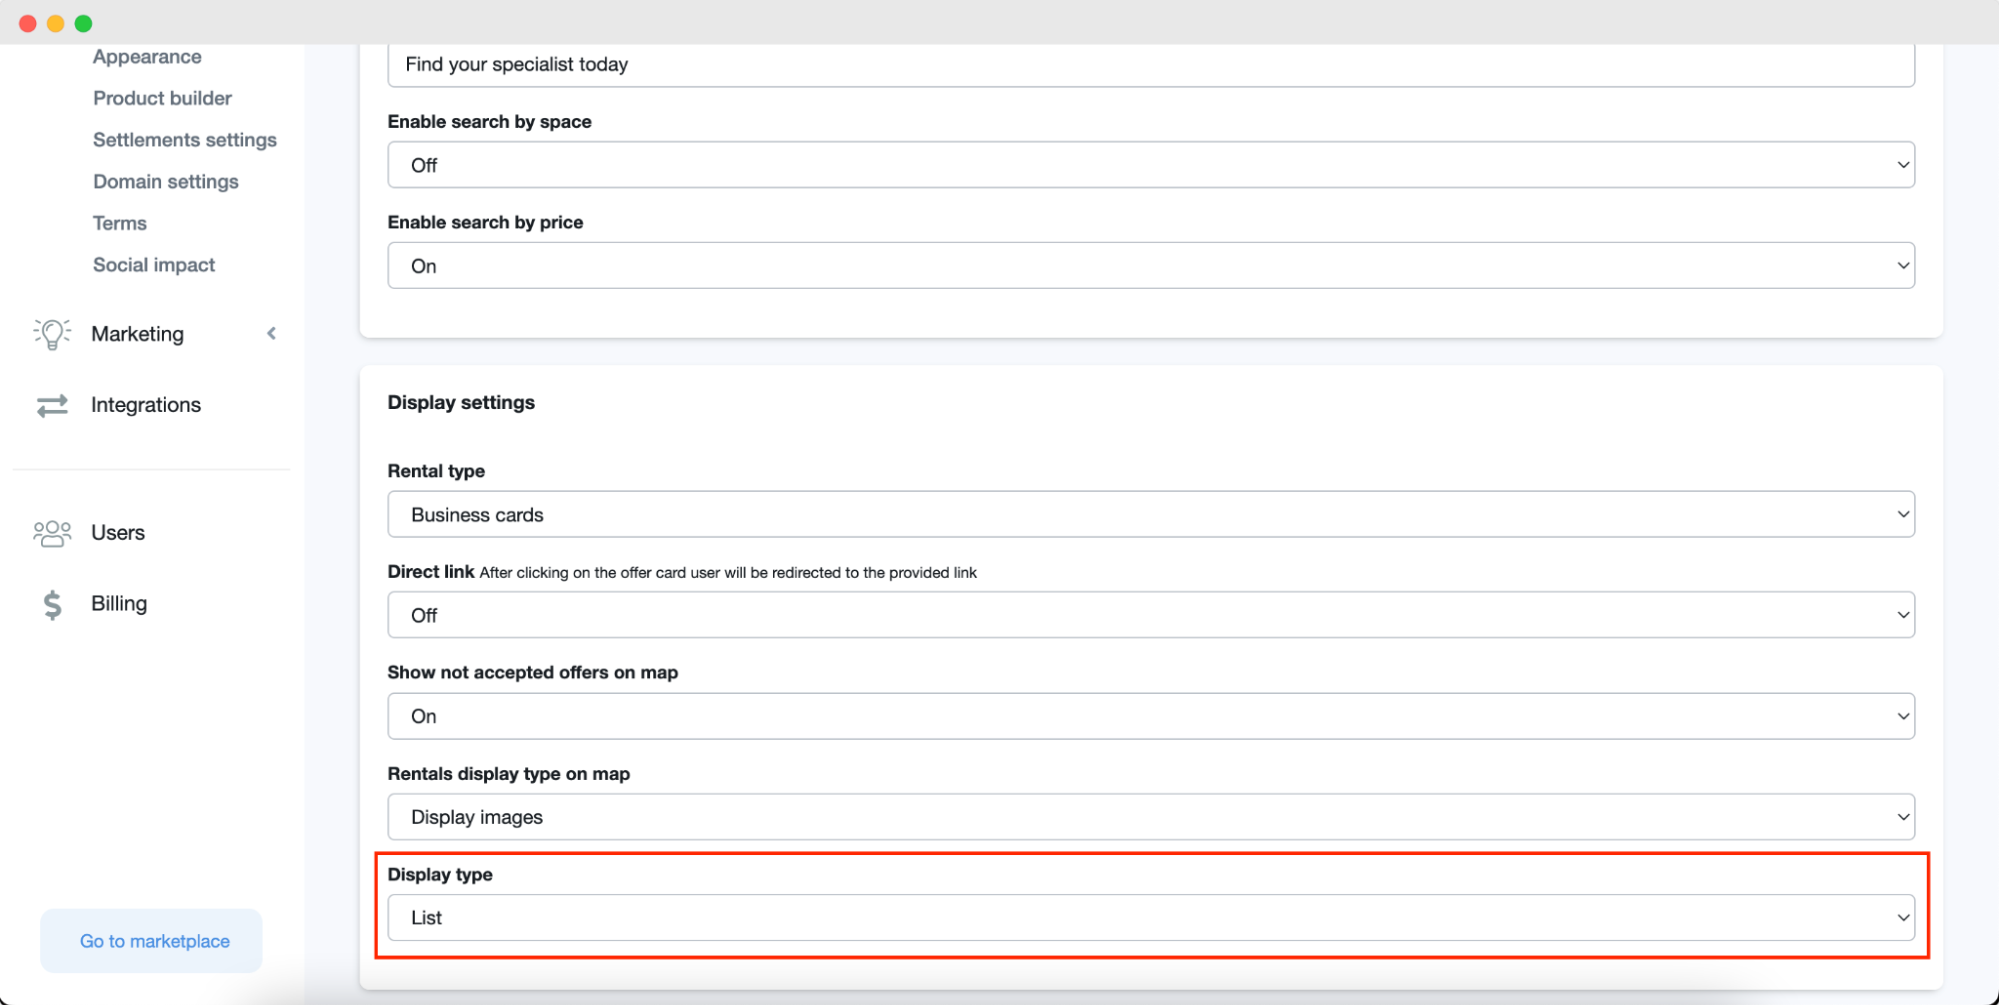
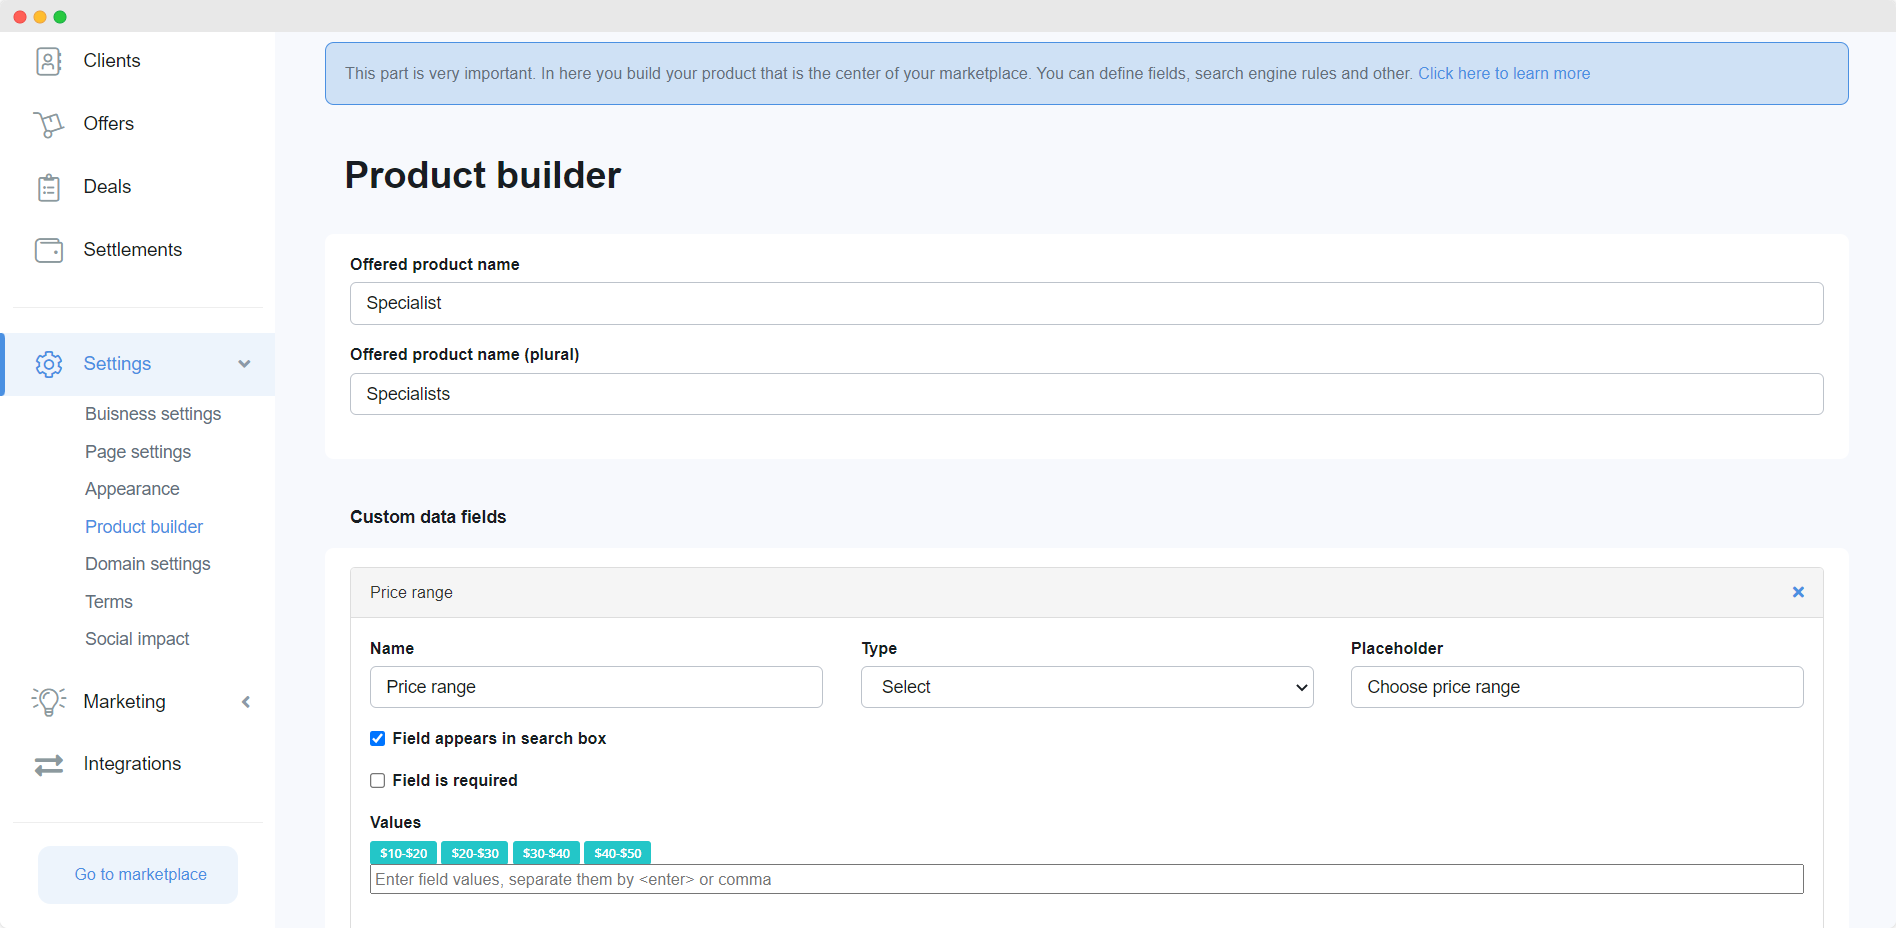
Filter makes it much easier for the students to find the teachers they want. Basically, here you can put any information you want. For example: teacher’s specialization, subject, pricing level etc.
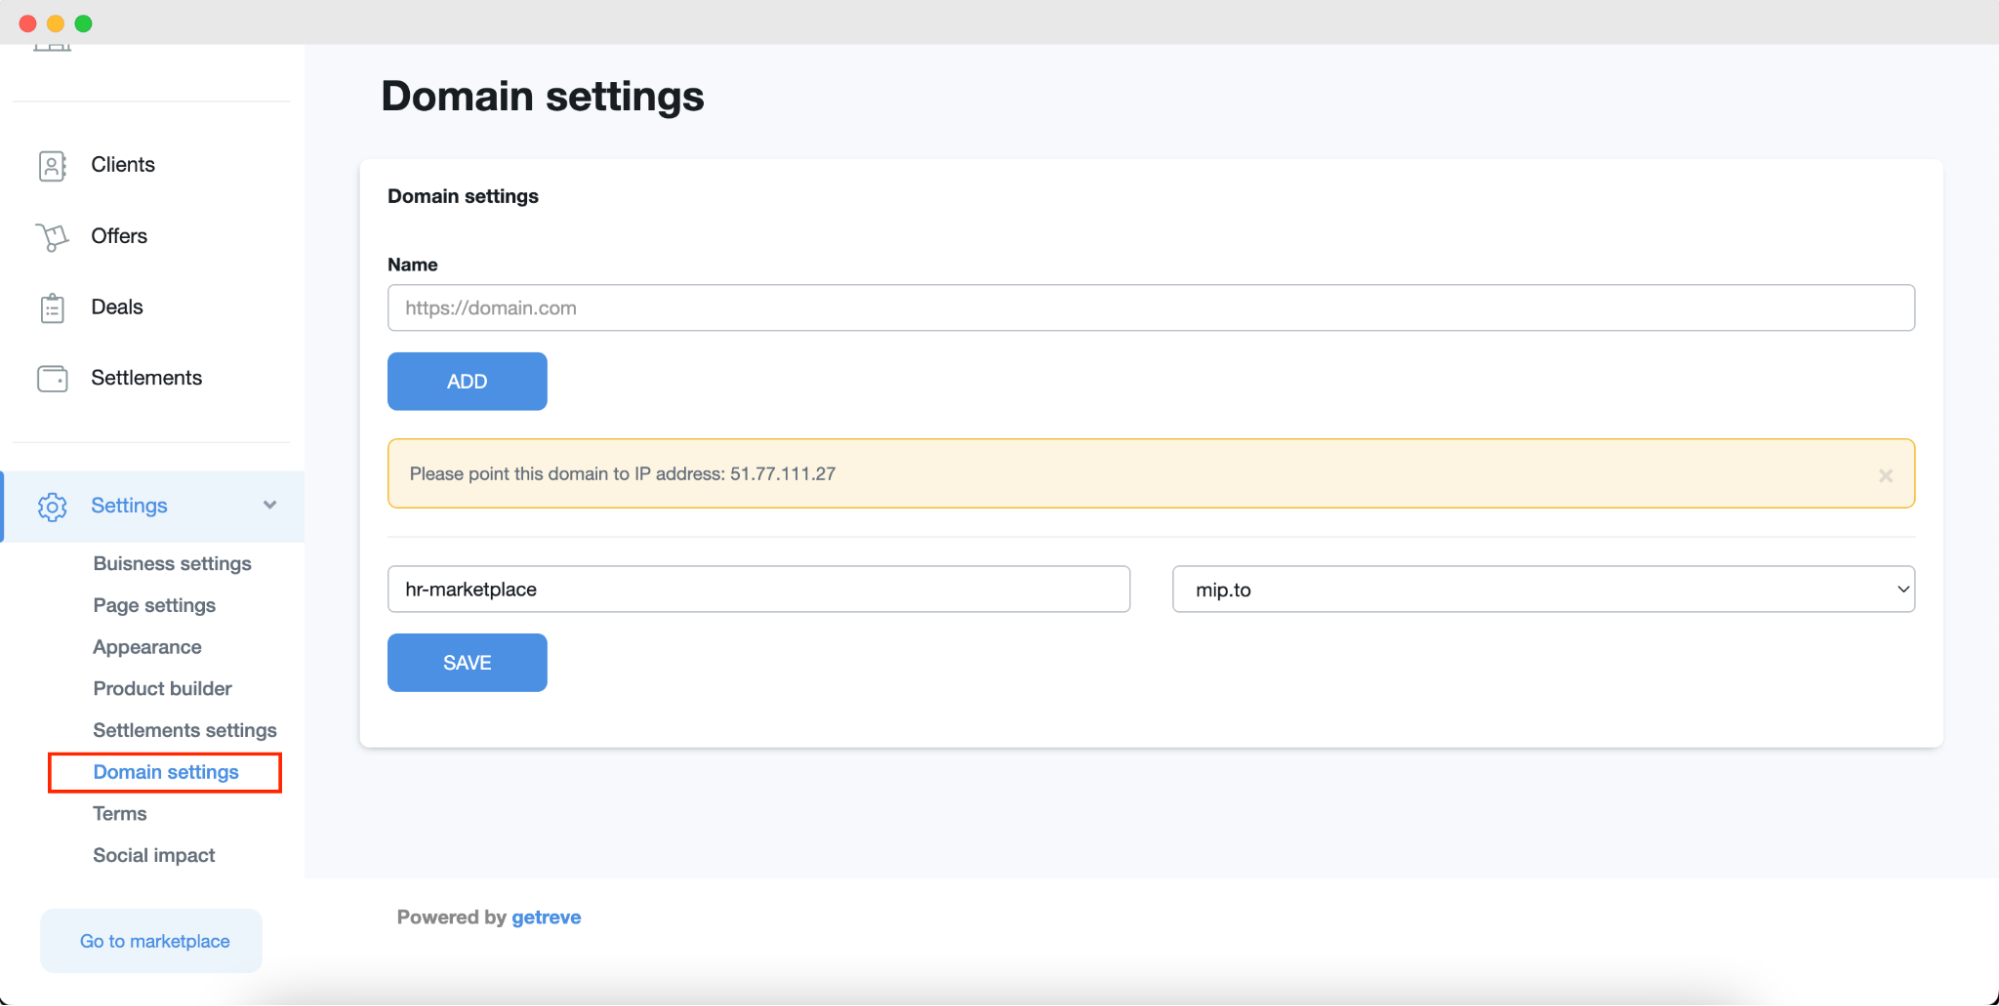
If you're ready to start selling services online, you'll need to connect your own domain to the marketplace. This process is relatively simple, and it will give you a more professional-looking online presence. First, you'll need to purchase a domain name from a registrar like GoDaddy or Namecheap. Once you have your domain name, you can then connect it to the marketplace via your marketplace's settings page. Simply enter your domain name into the appropriate field, and the marketplace will take care of the rest. In most cases, you'll need to verify your ownership of the domain before the connection is complete. However, once everything is set up, you'll be able to start offering services under your own brand!
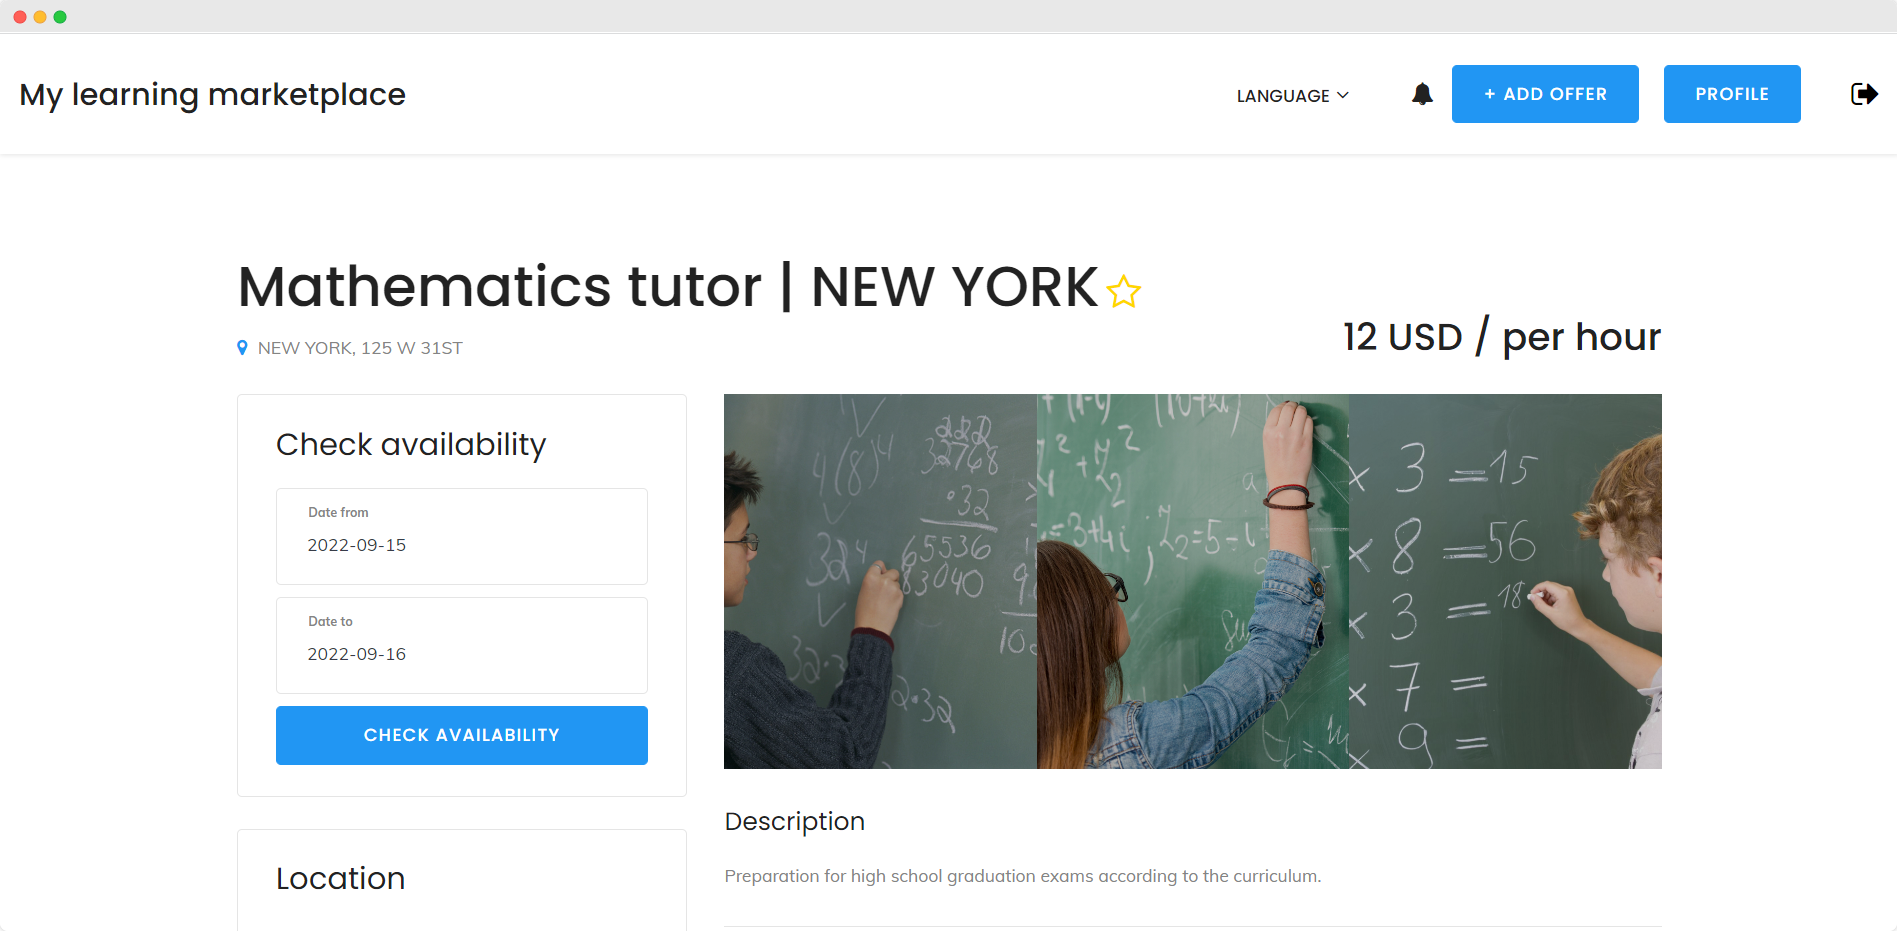
The first step for a teacher to add his own offer to the marketplace is to create an account. Then, they need to click on the “Add Offer” button.
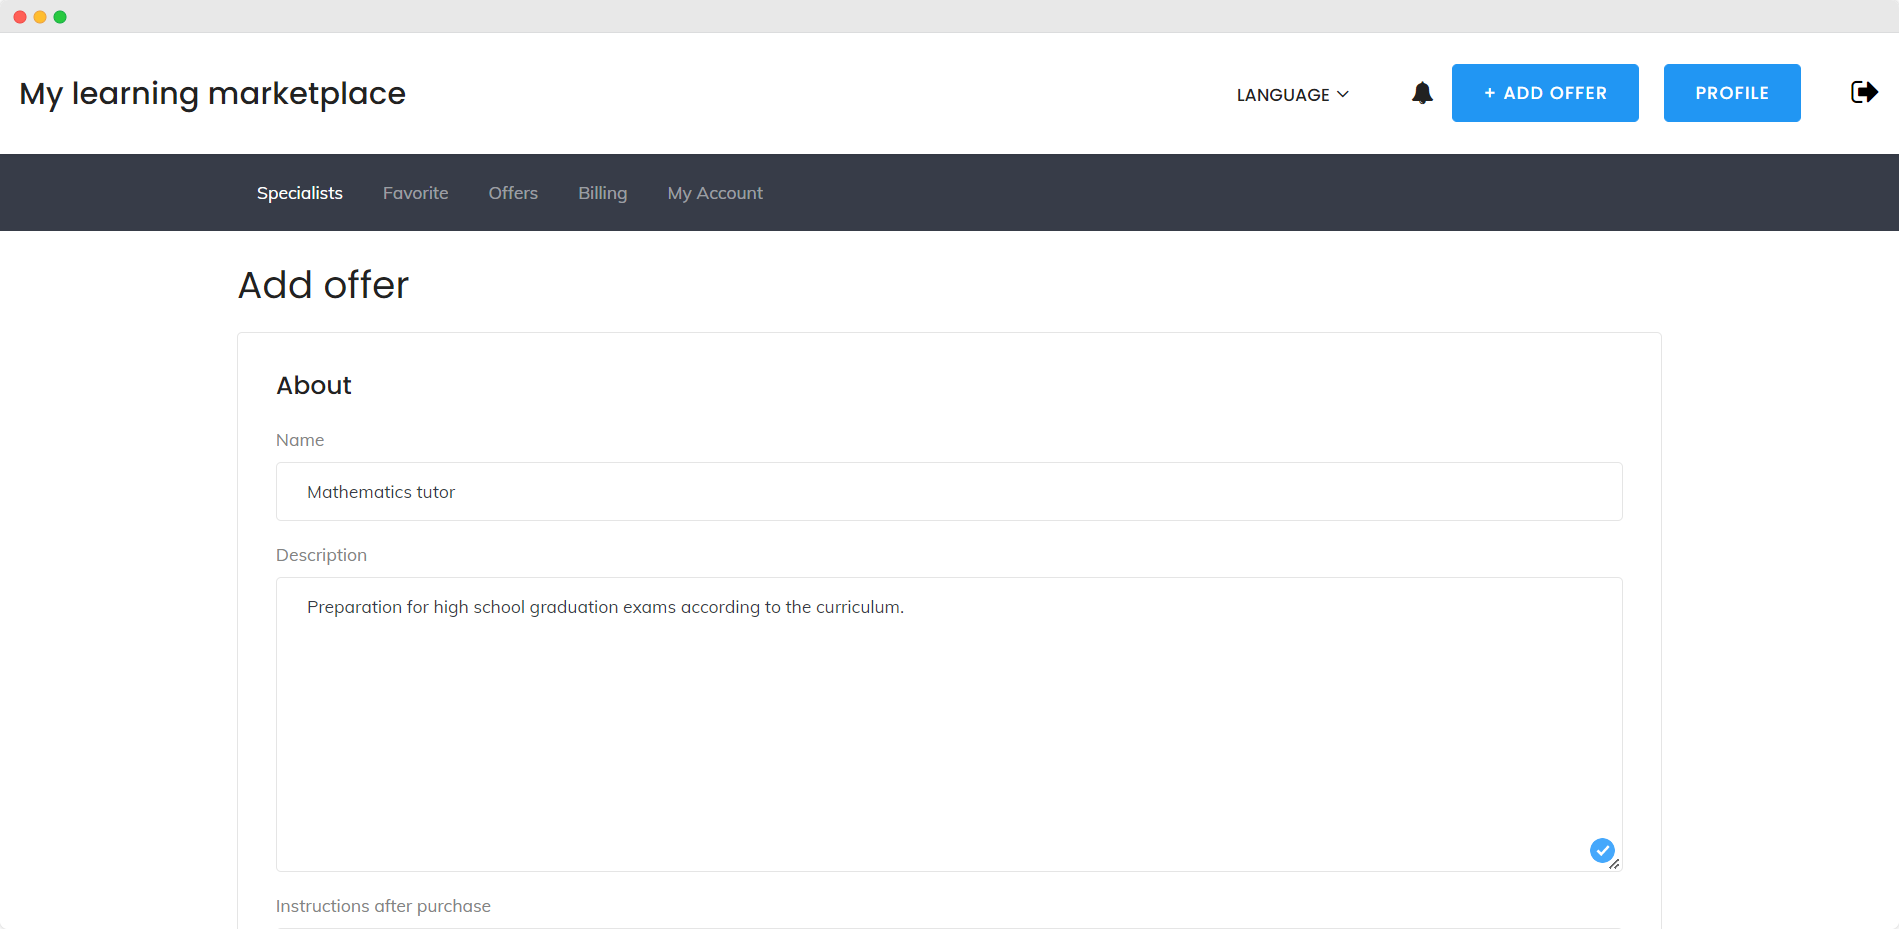
This will take them to a form where they can enter the details of their offer. Once they’ve submitted an offer, it should be carefully reviewed by your team. If approved, it will then be live on the marketplace for other users to view and book. Quite easy, right?

There are a few ways how students can find offers on your marketplace. The easiest way is to use the filter function. They can filter teachers by qualification, price, subjects, and other factors.
Once they've found an offer that interests them, they can contact the provider to learn more about the offer. After the deal happened, you, as a marketplace owner, will receive a commission for this transaction. Just easy as that!
To summarize, creating a learning marketplace is a great way to differentiate your business and offer something unique to your customers. You can create a platform where students can find specialists and teachers can find their clients. You will not only be helping people to get better access to educational services, but you’ll also be making money from every transaction that takes place on your website. It’s a win-win situation for everyone involved! Have you started building your marketplace yet? If not, what are you waiting for? :)
